
GET STARTED
STEP 1: Open The Box
Locate your new All-In-One Touchscreen, power supply and table stand.
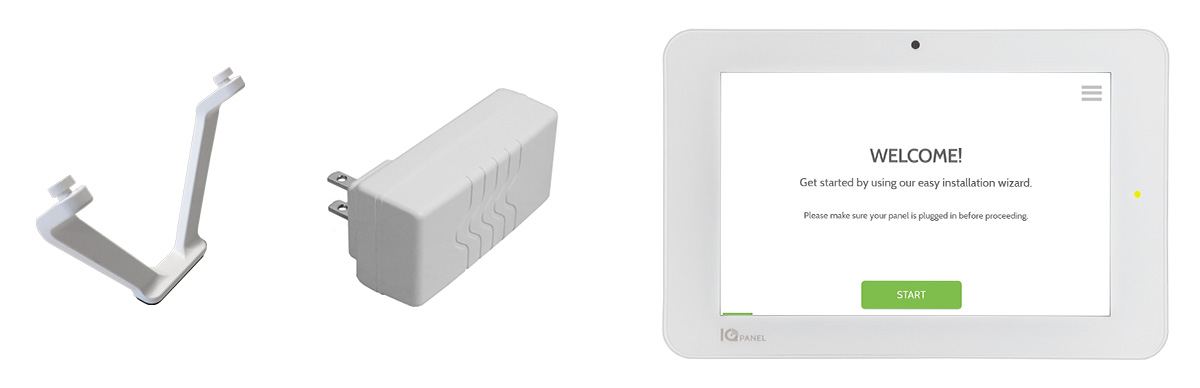
STEP 2: Power Up The Panel
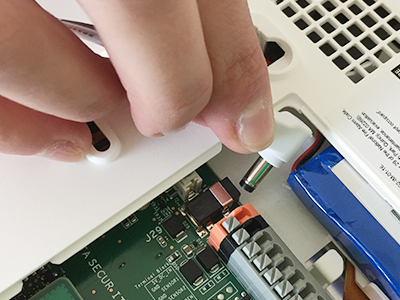
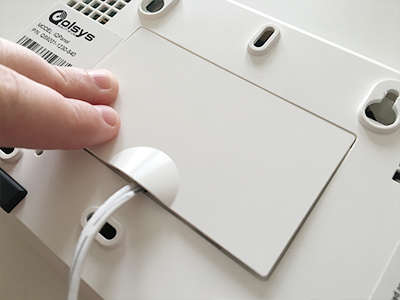
Plug in the power connector.
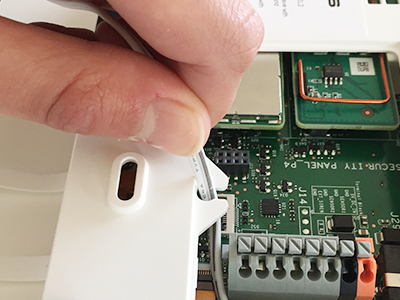
Hook the wire in the strain-relief.
Push the cover down until it snaps in place.
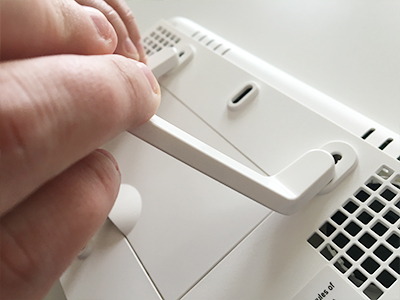
Insert the table stand into the mounting holes and push upward until it snaps into place.
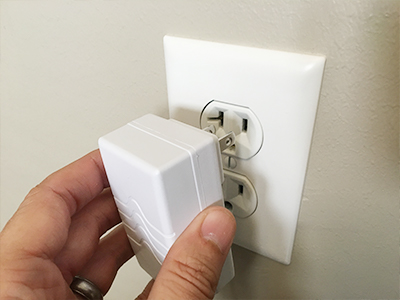
Plug in the power supply.
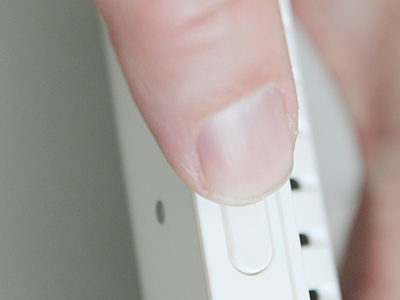
Push and hold the standby button on the side of the panel for 3 seconds.
STEP 3: Initial Settings
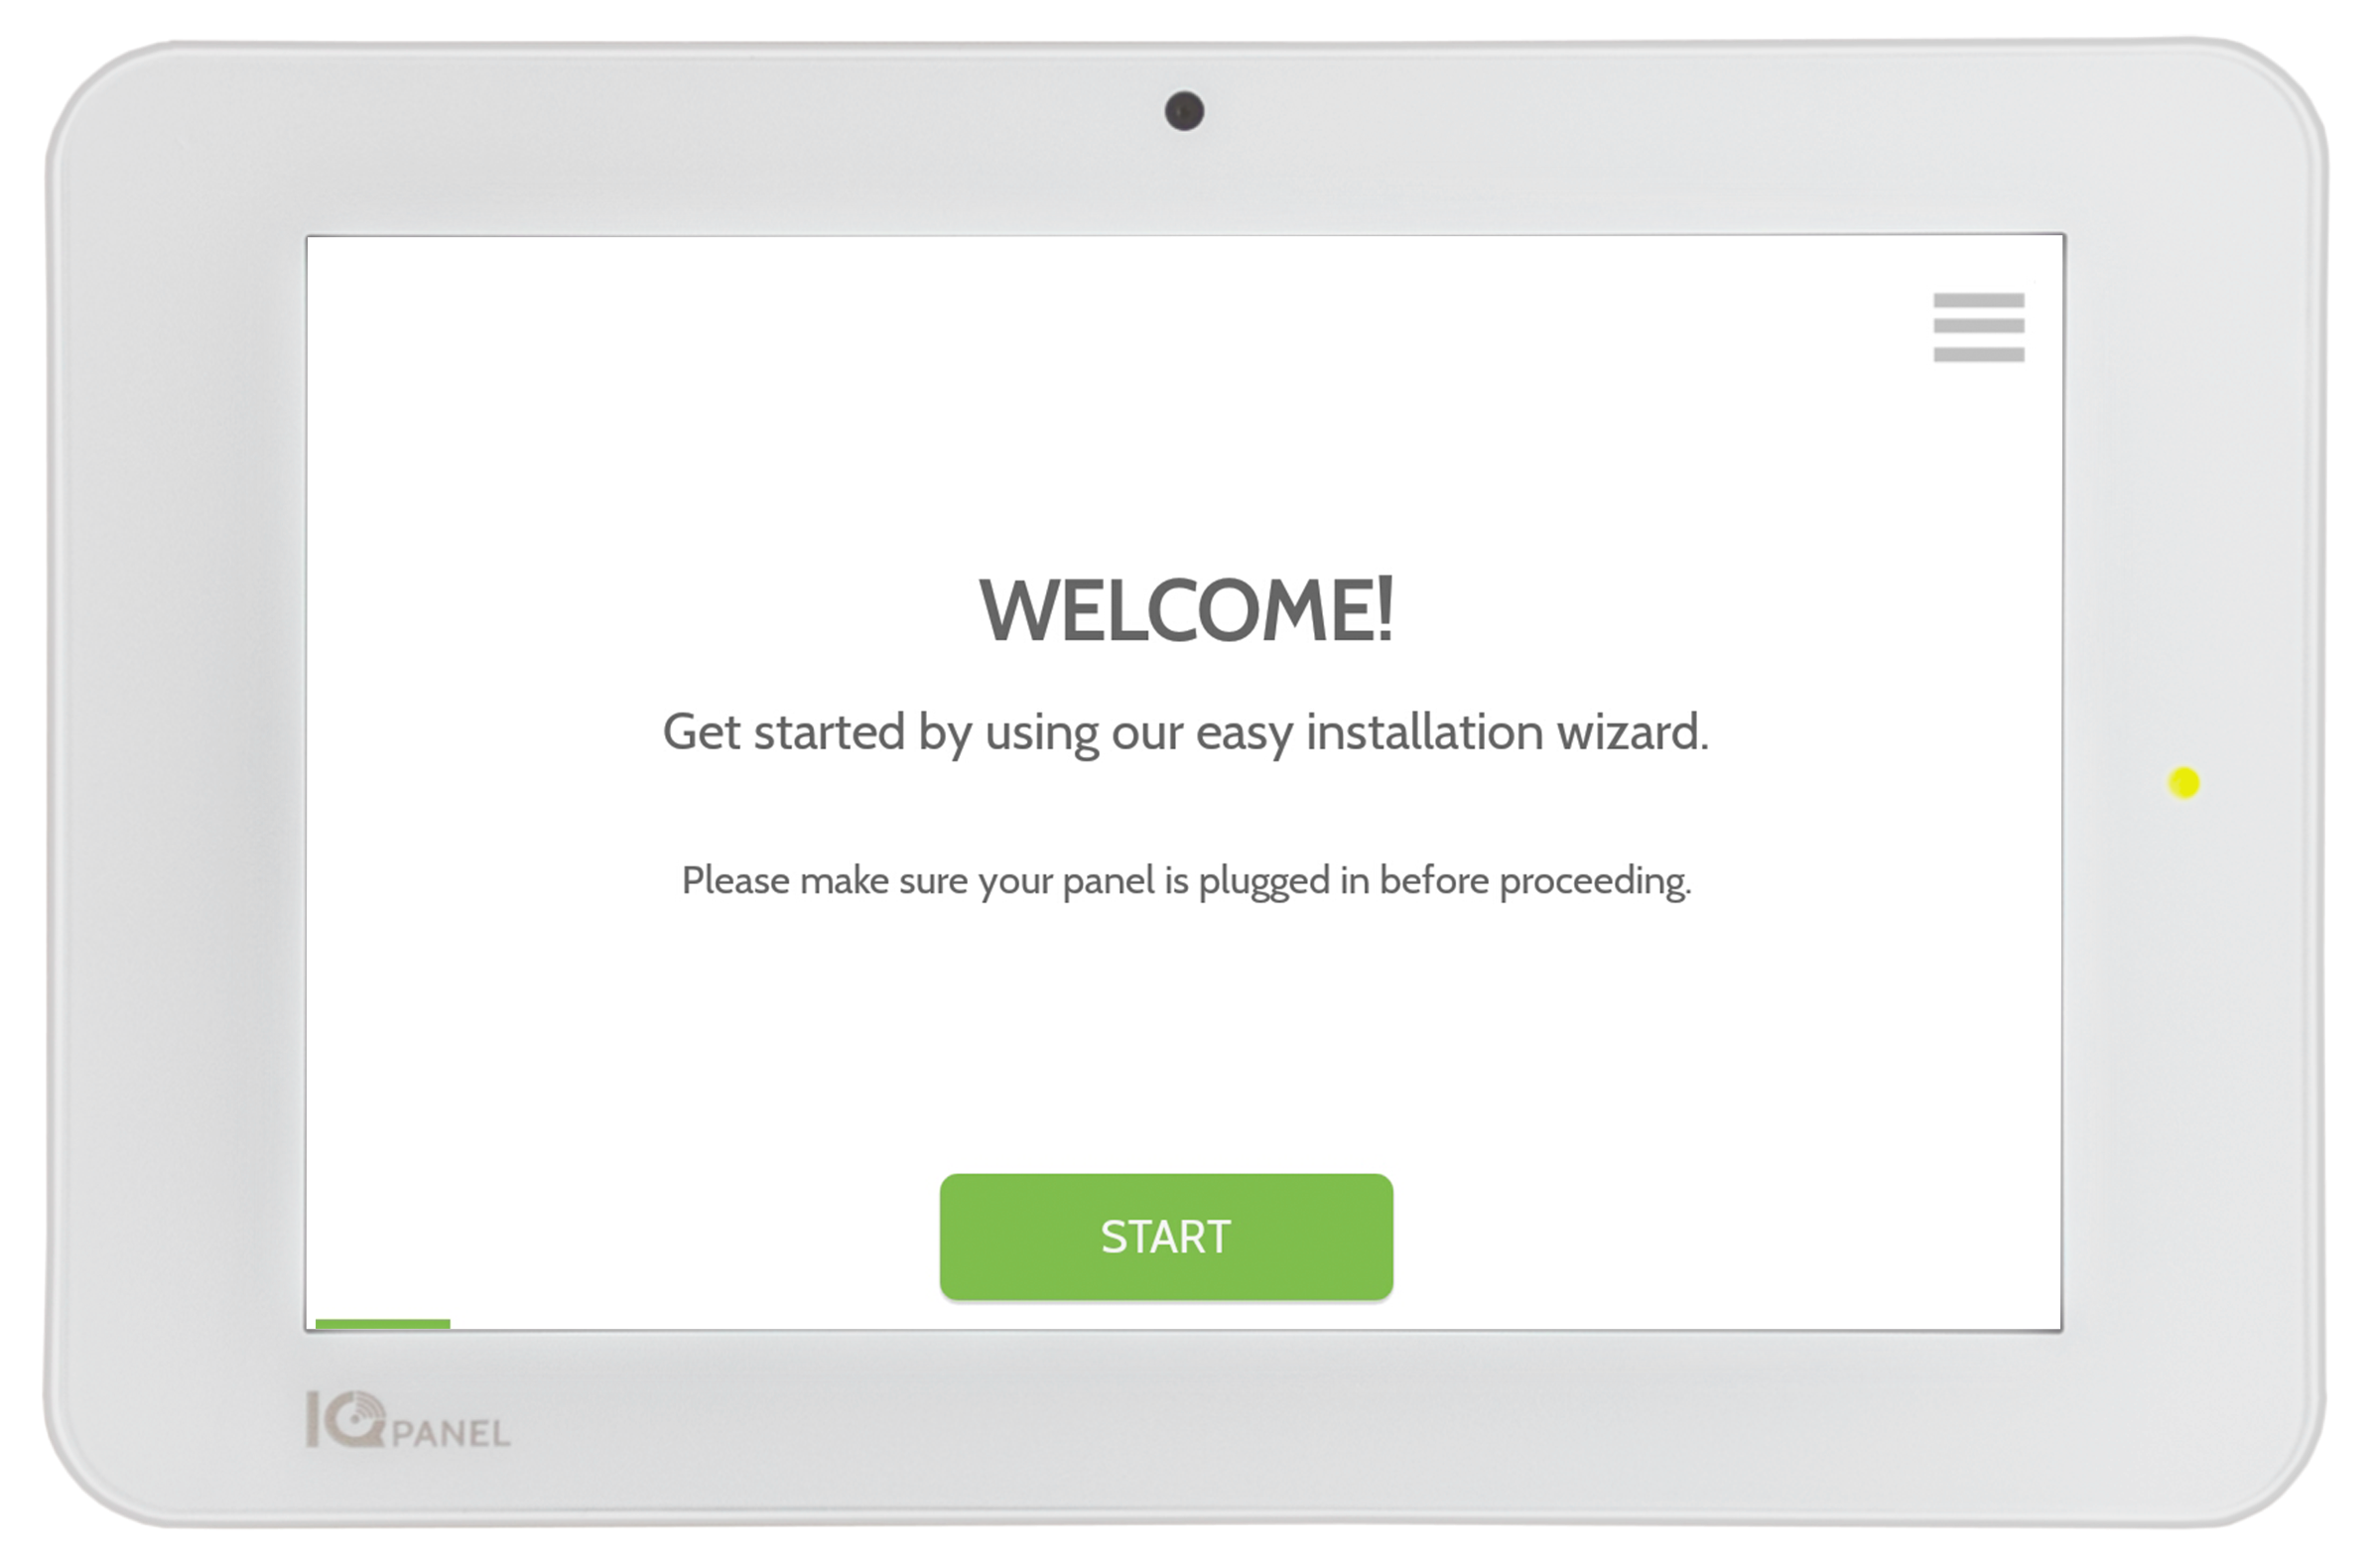
Follow the steps in the on-screen wizard to:
-Connect Wi-Fi
-Run system tests
-Download cloud settings
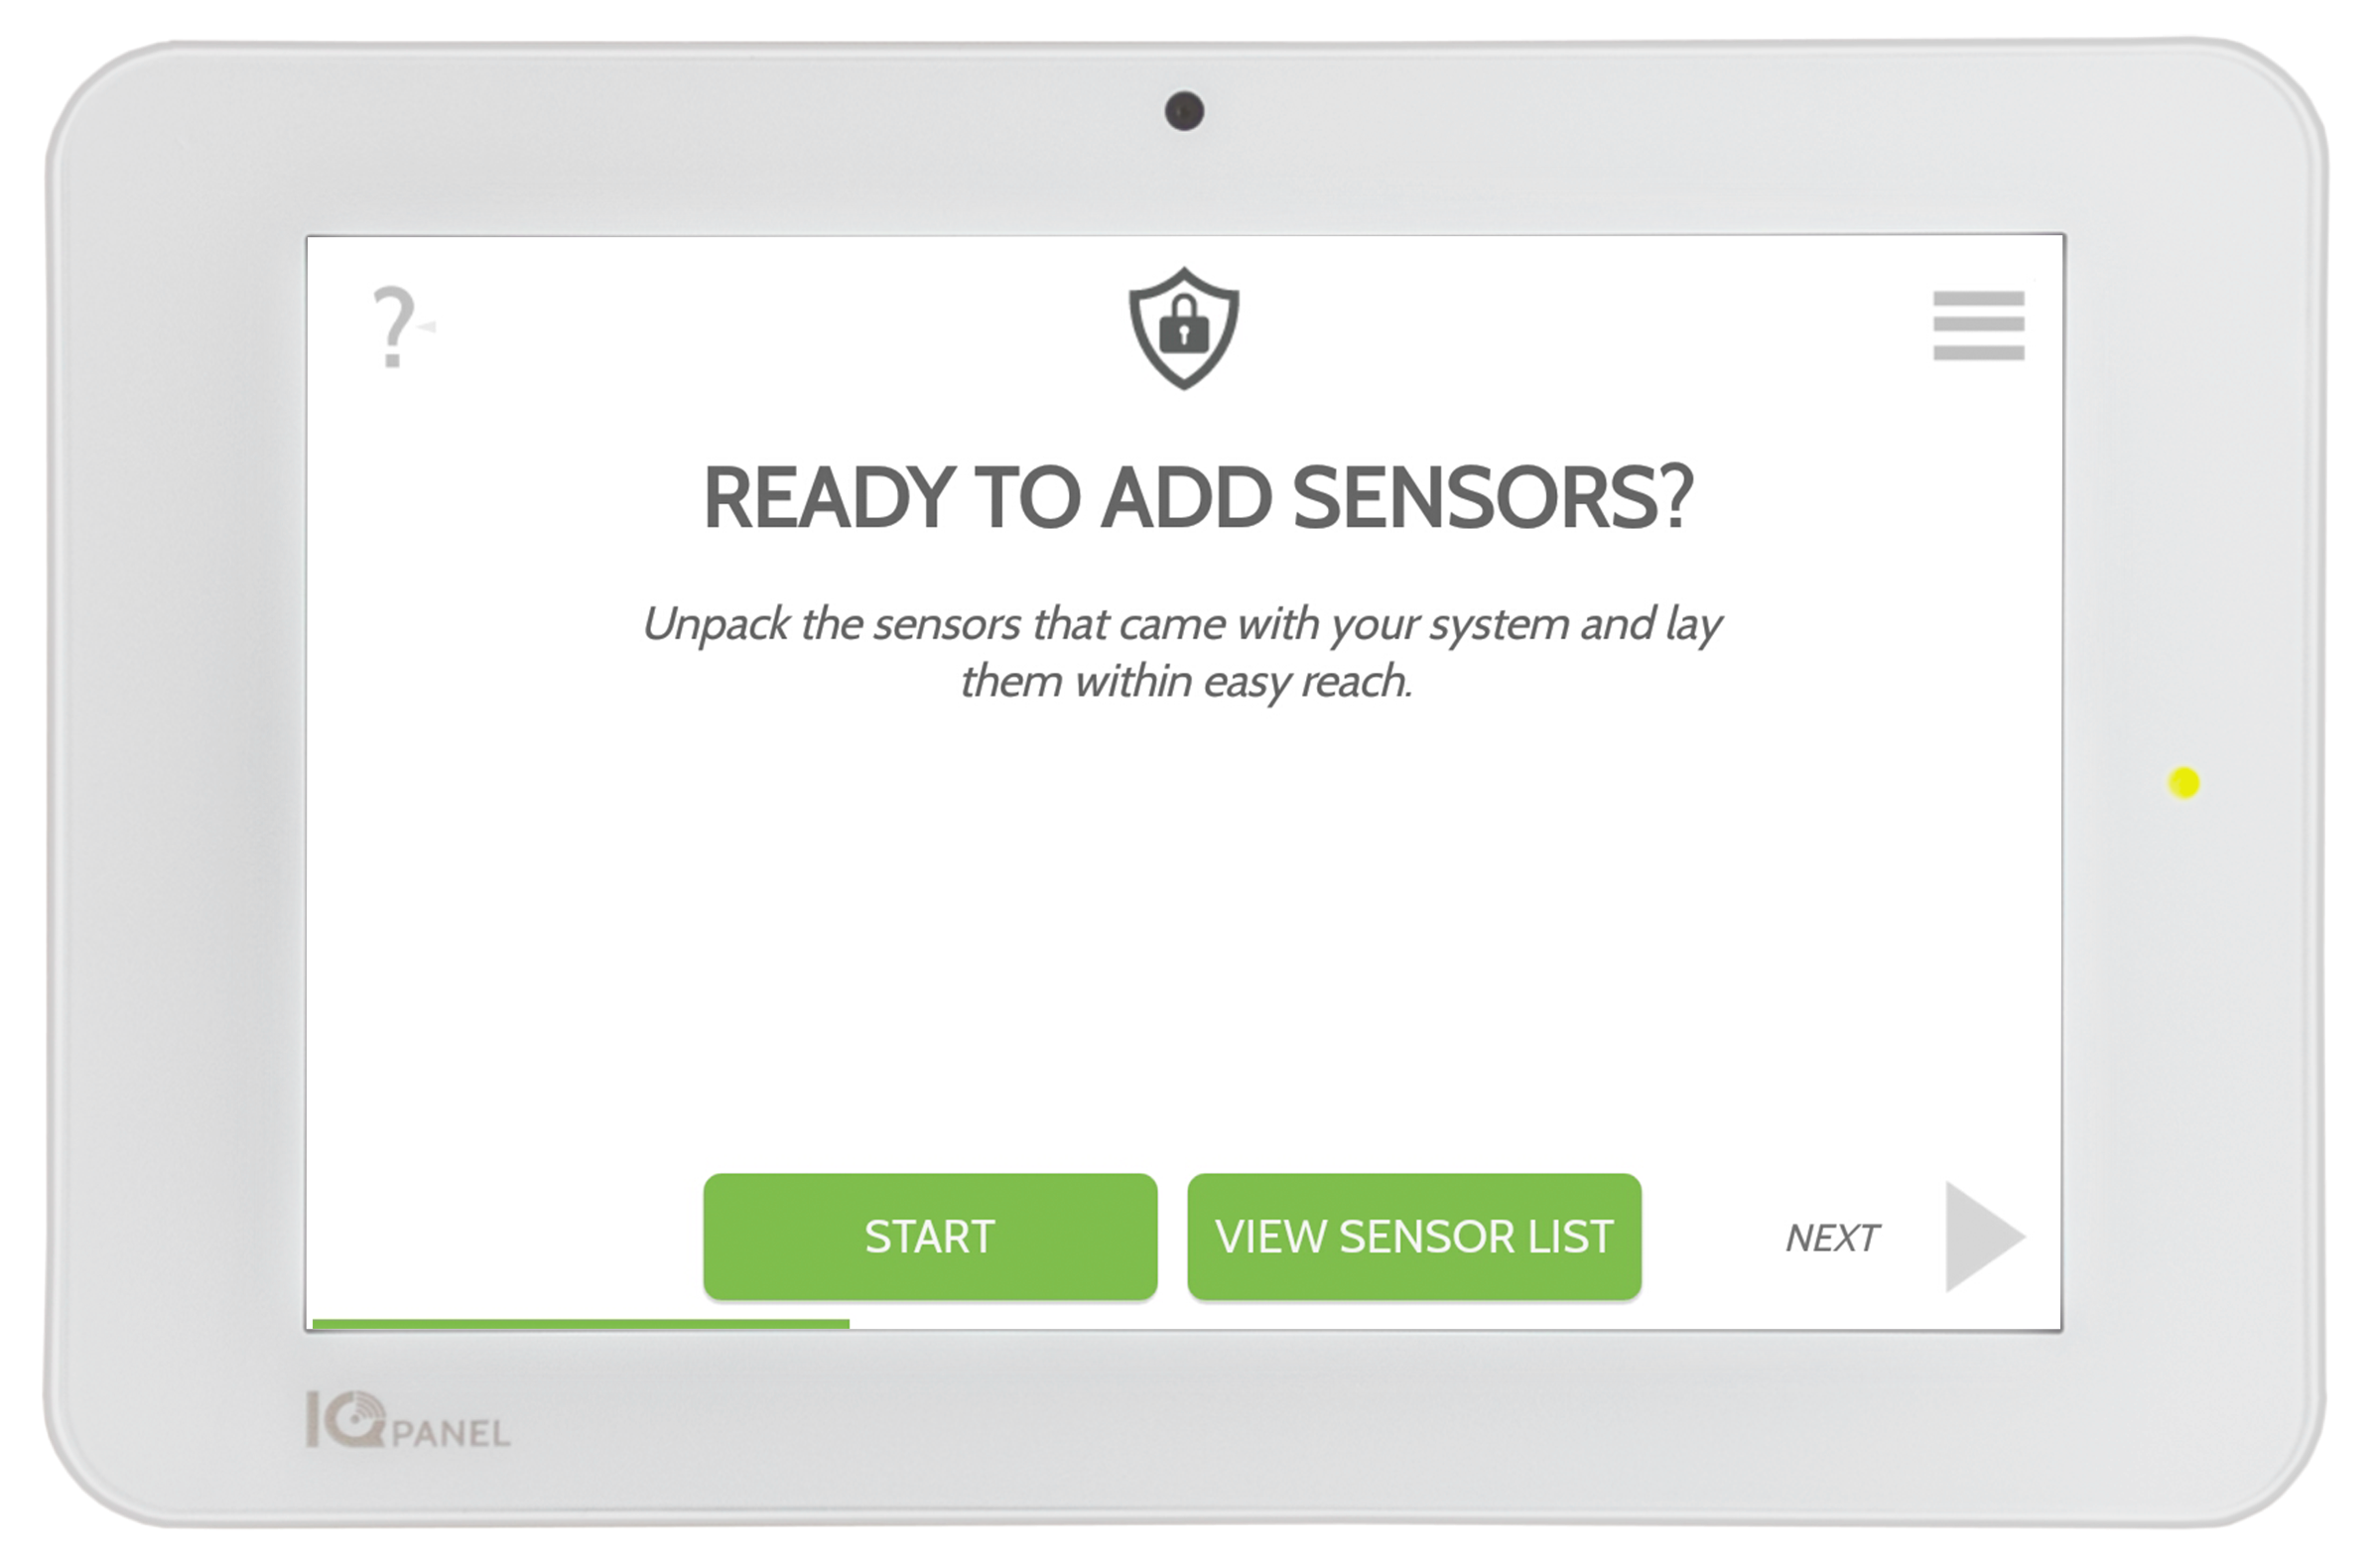
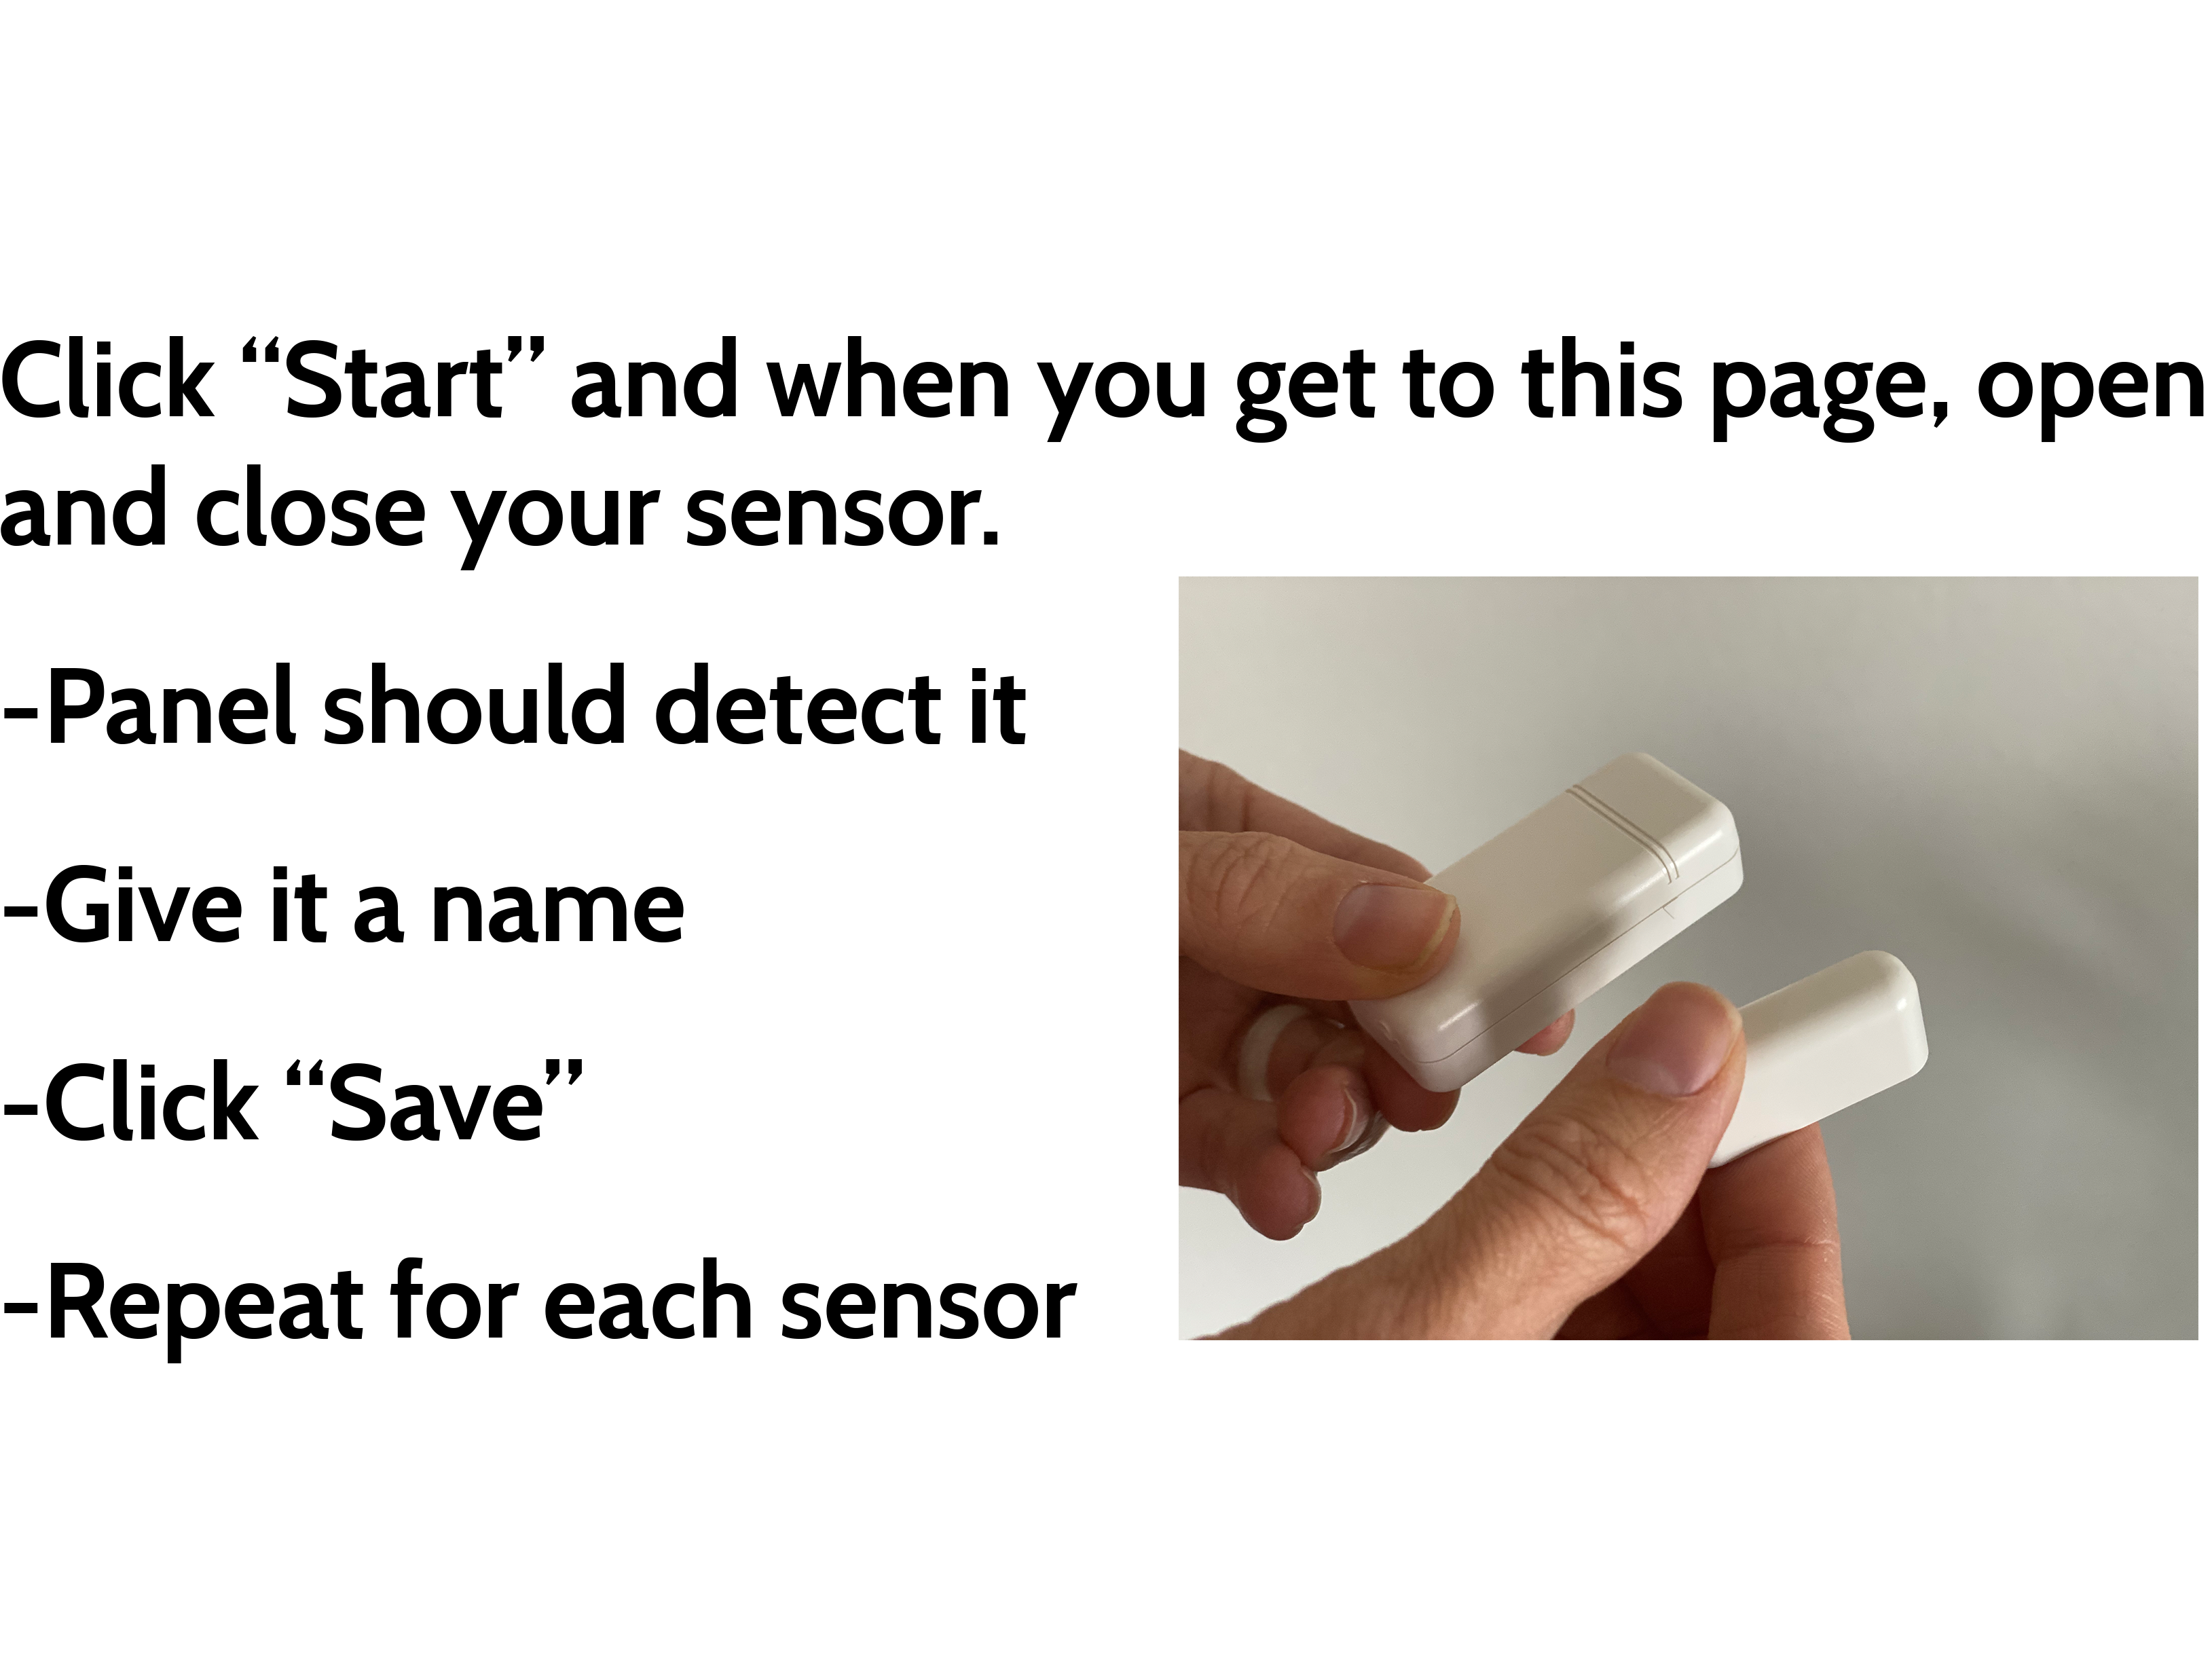
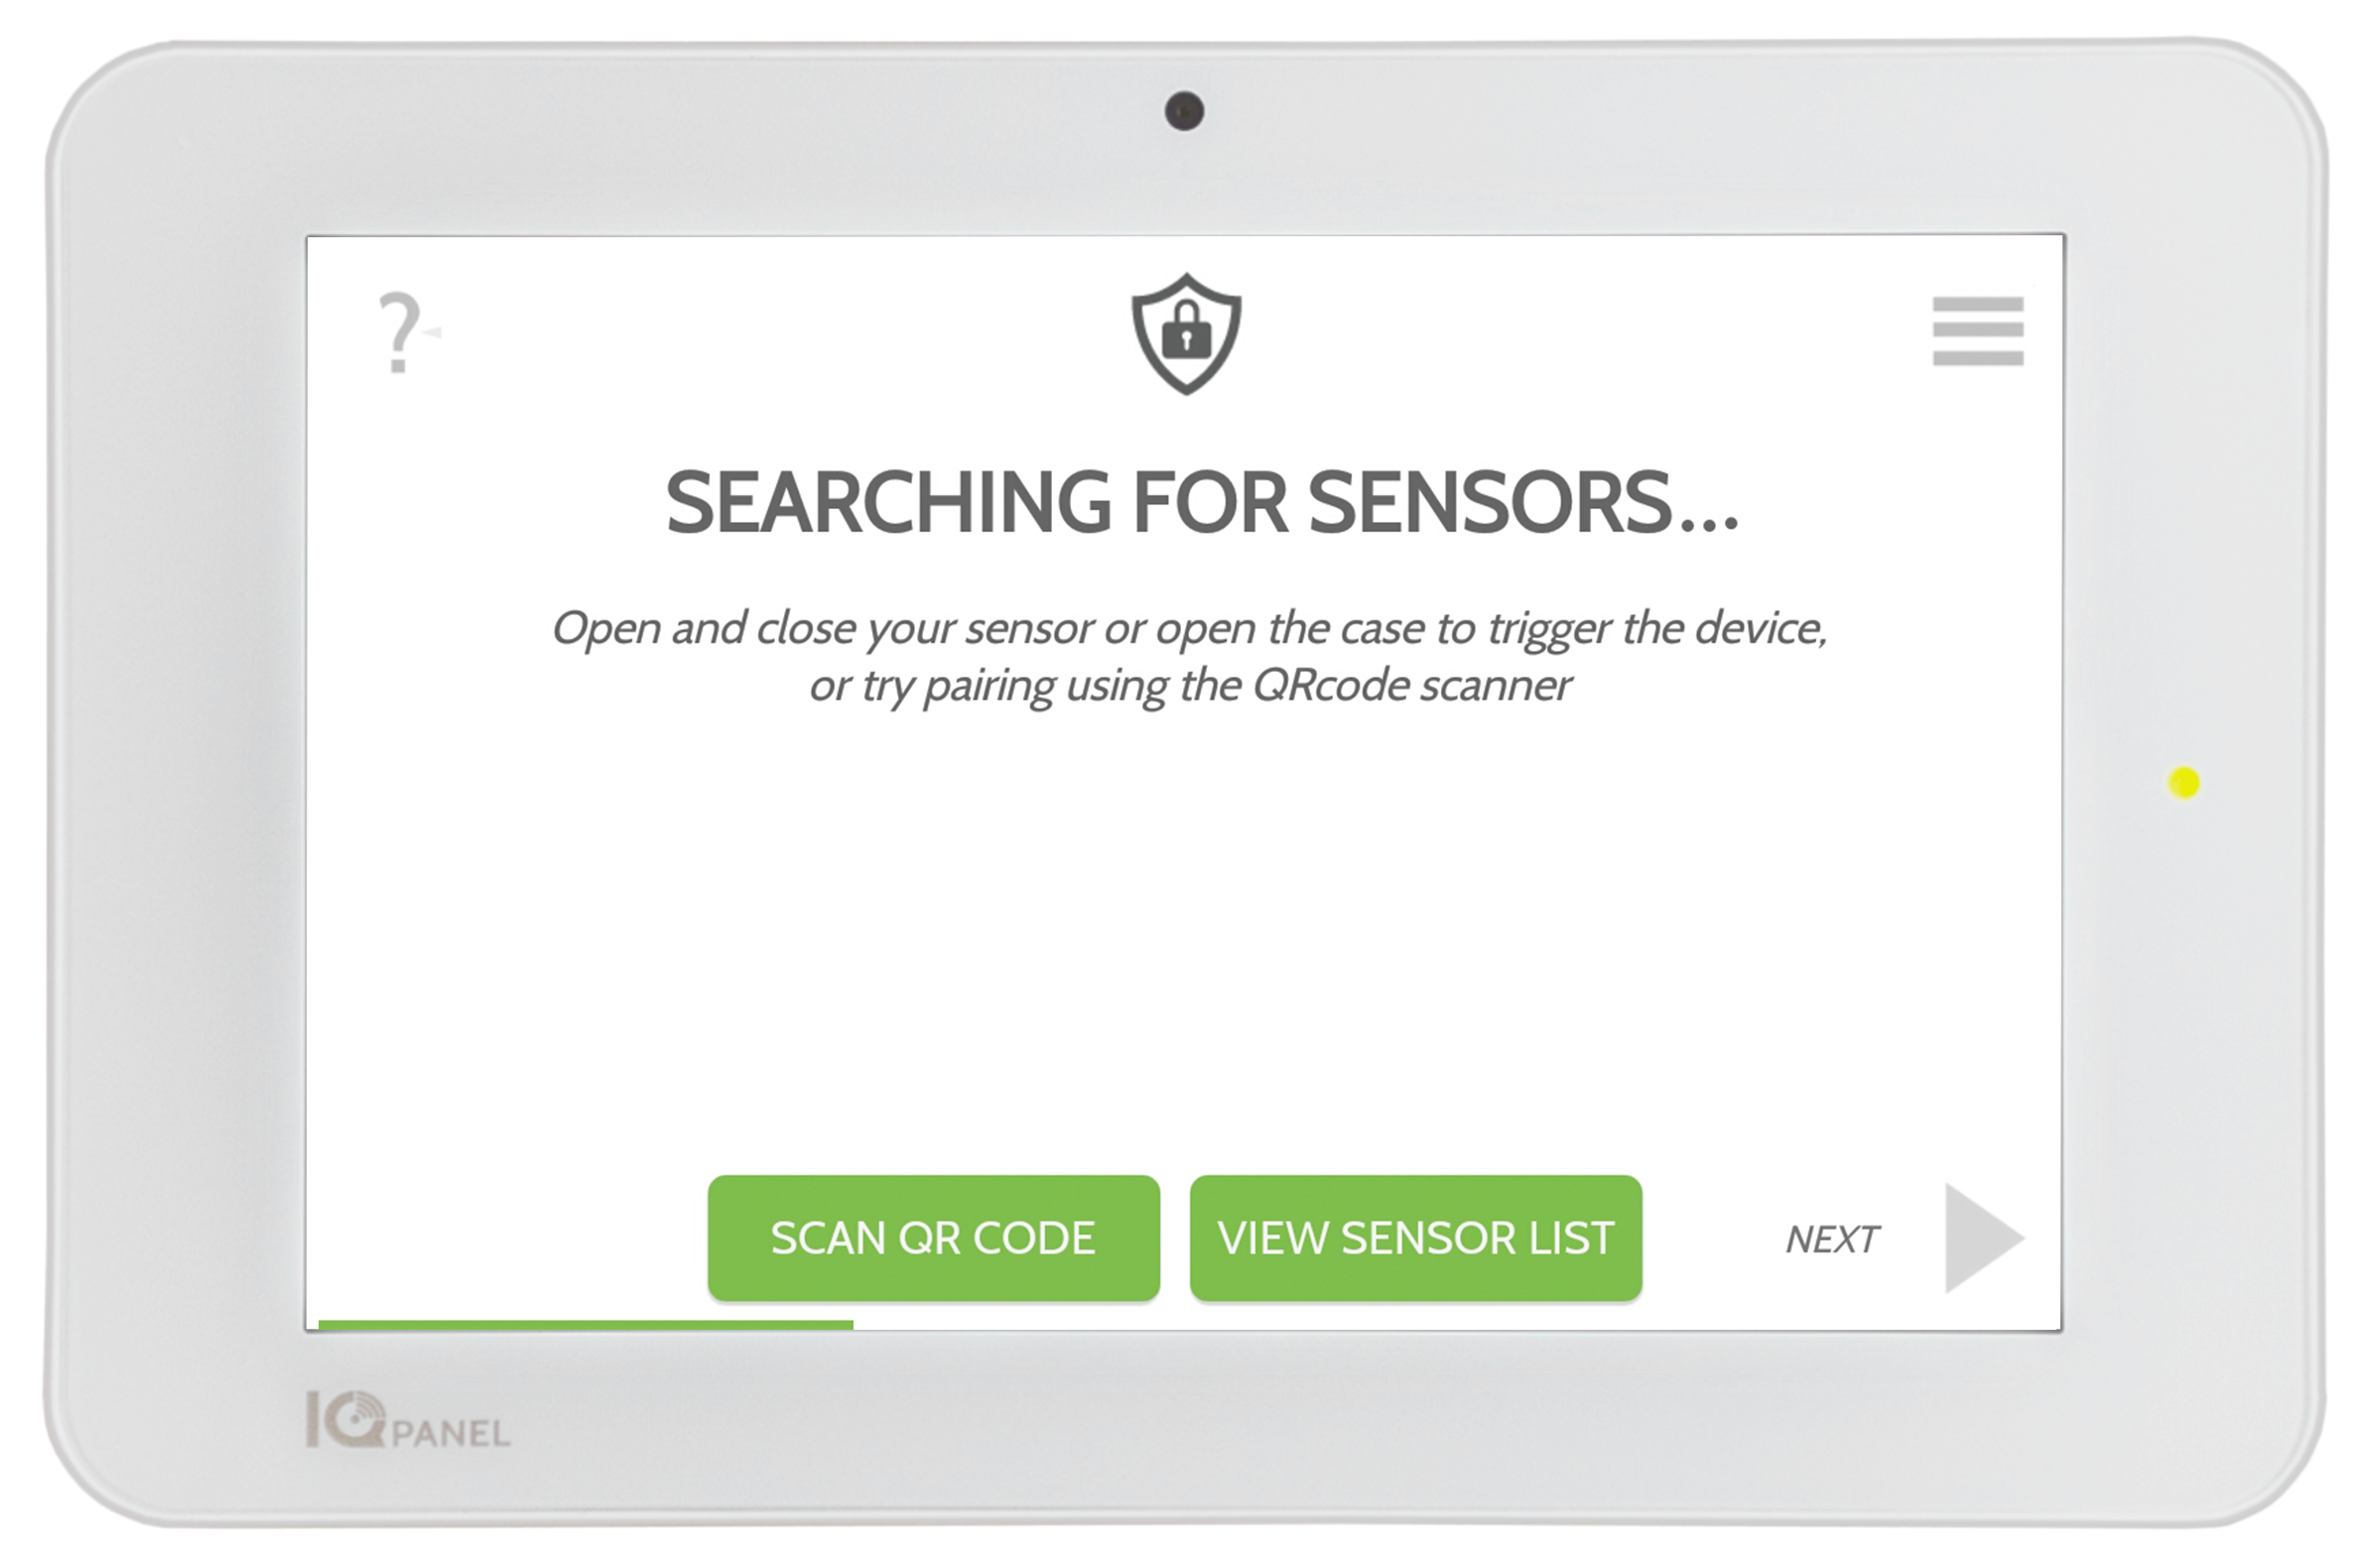
STEP 4: Pair Door/Window Sensors
STEP 5: Pair Motion Sensor

If you cannot get your motion sensor to activate you may need to open the case and put it back on to "Wake it Up".

As soon as your motion sensor is active give it a name and click "Save". If the system does not automatically detect your sensor, try waving your hand in front of it.
STEP 6: Test Your Sensors
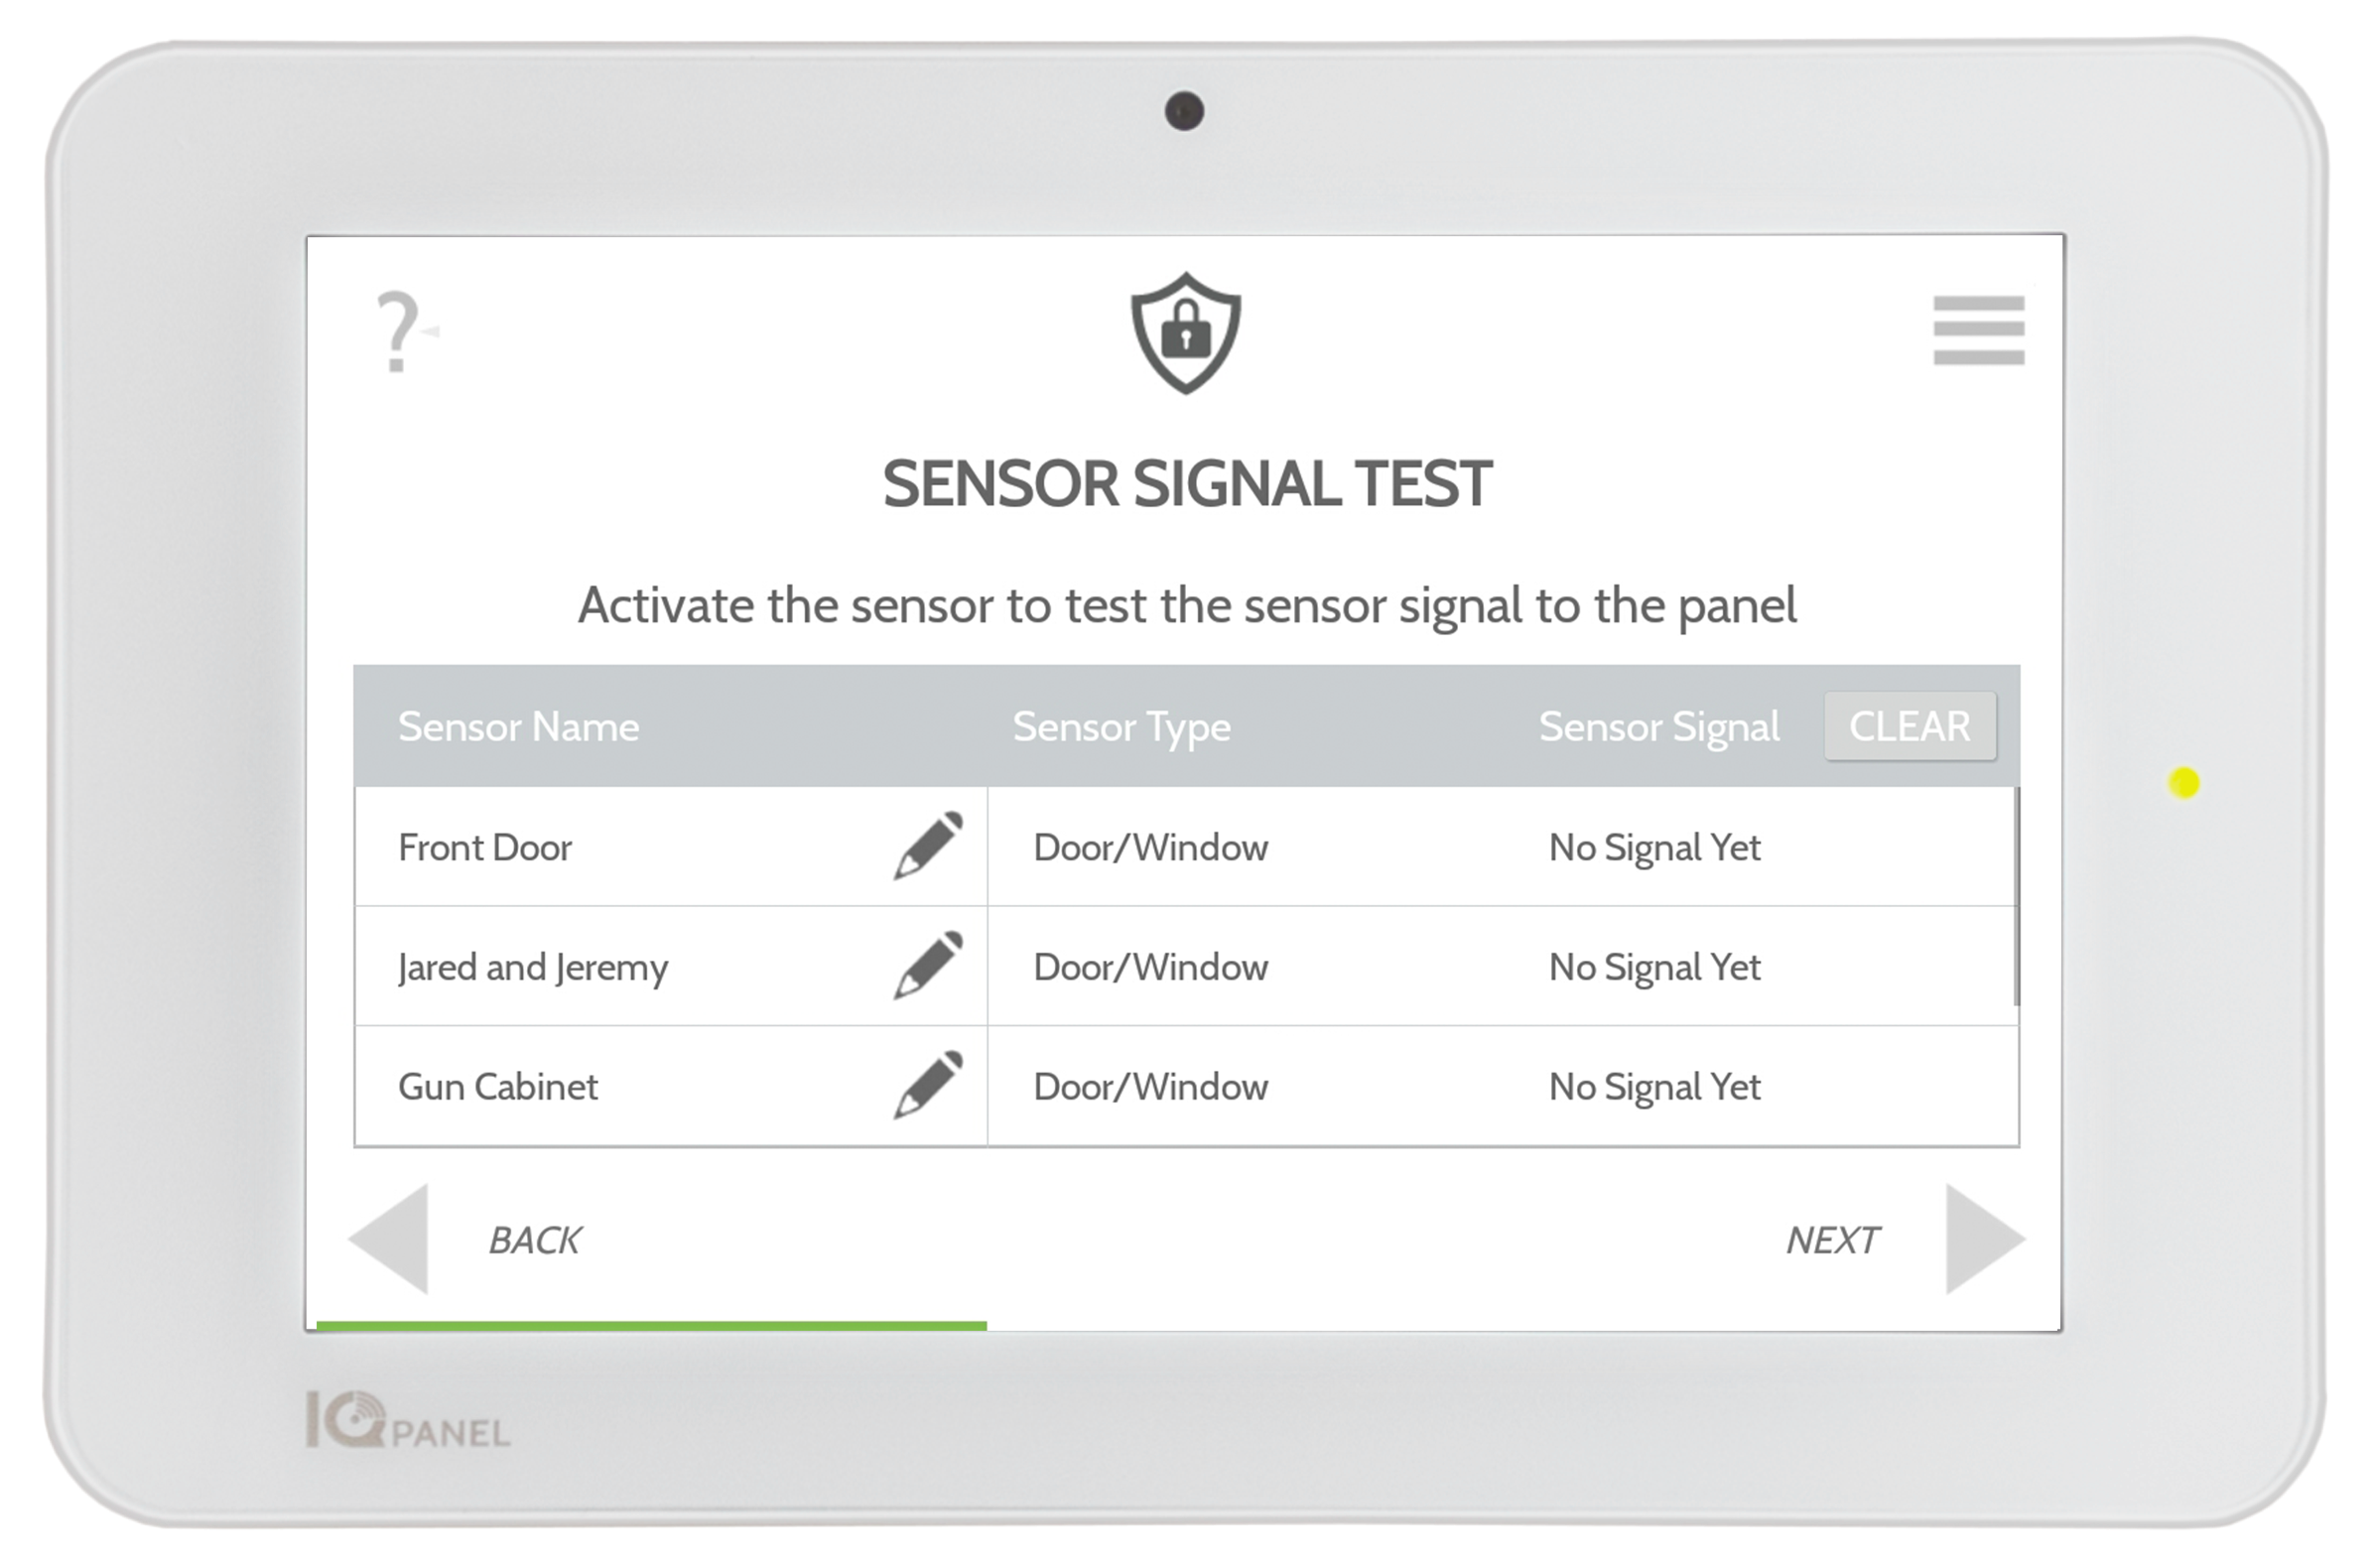
When you get to this page your system begins checking your sensors to ensure everything is working properly. Open and close each door or window several times and wave your hands in front of the motion sensor. Results on screen. (If your results are not "Excellent" or "Good" consider changing panel location.)

STEP 7: Pair Bluetooth
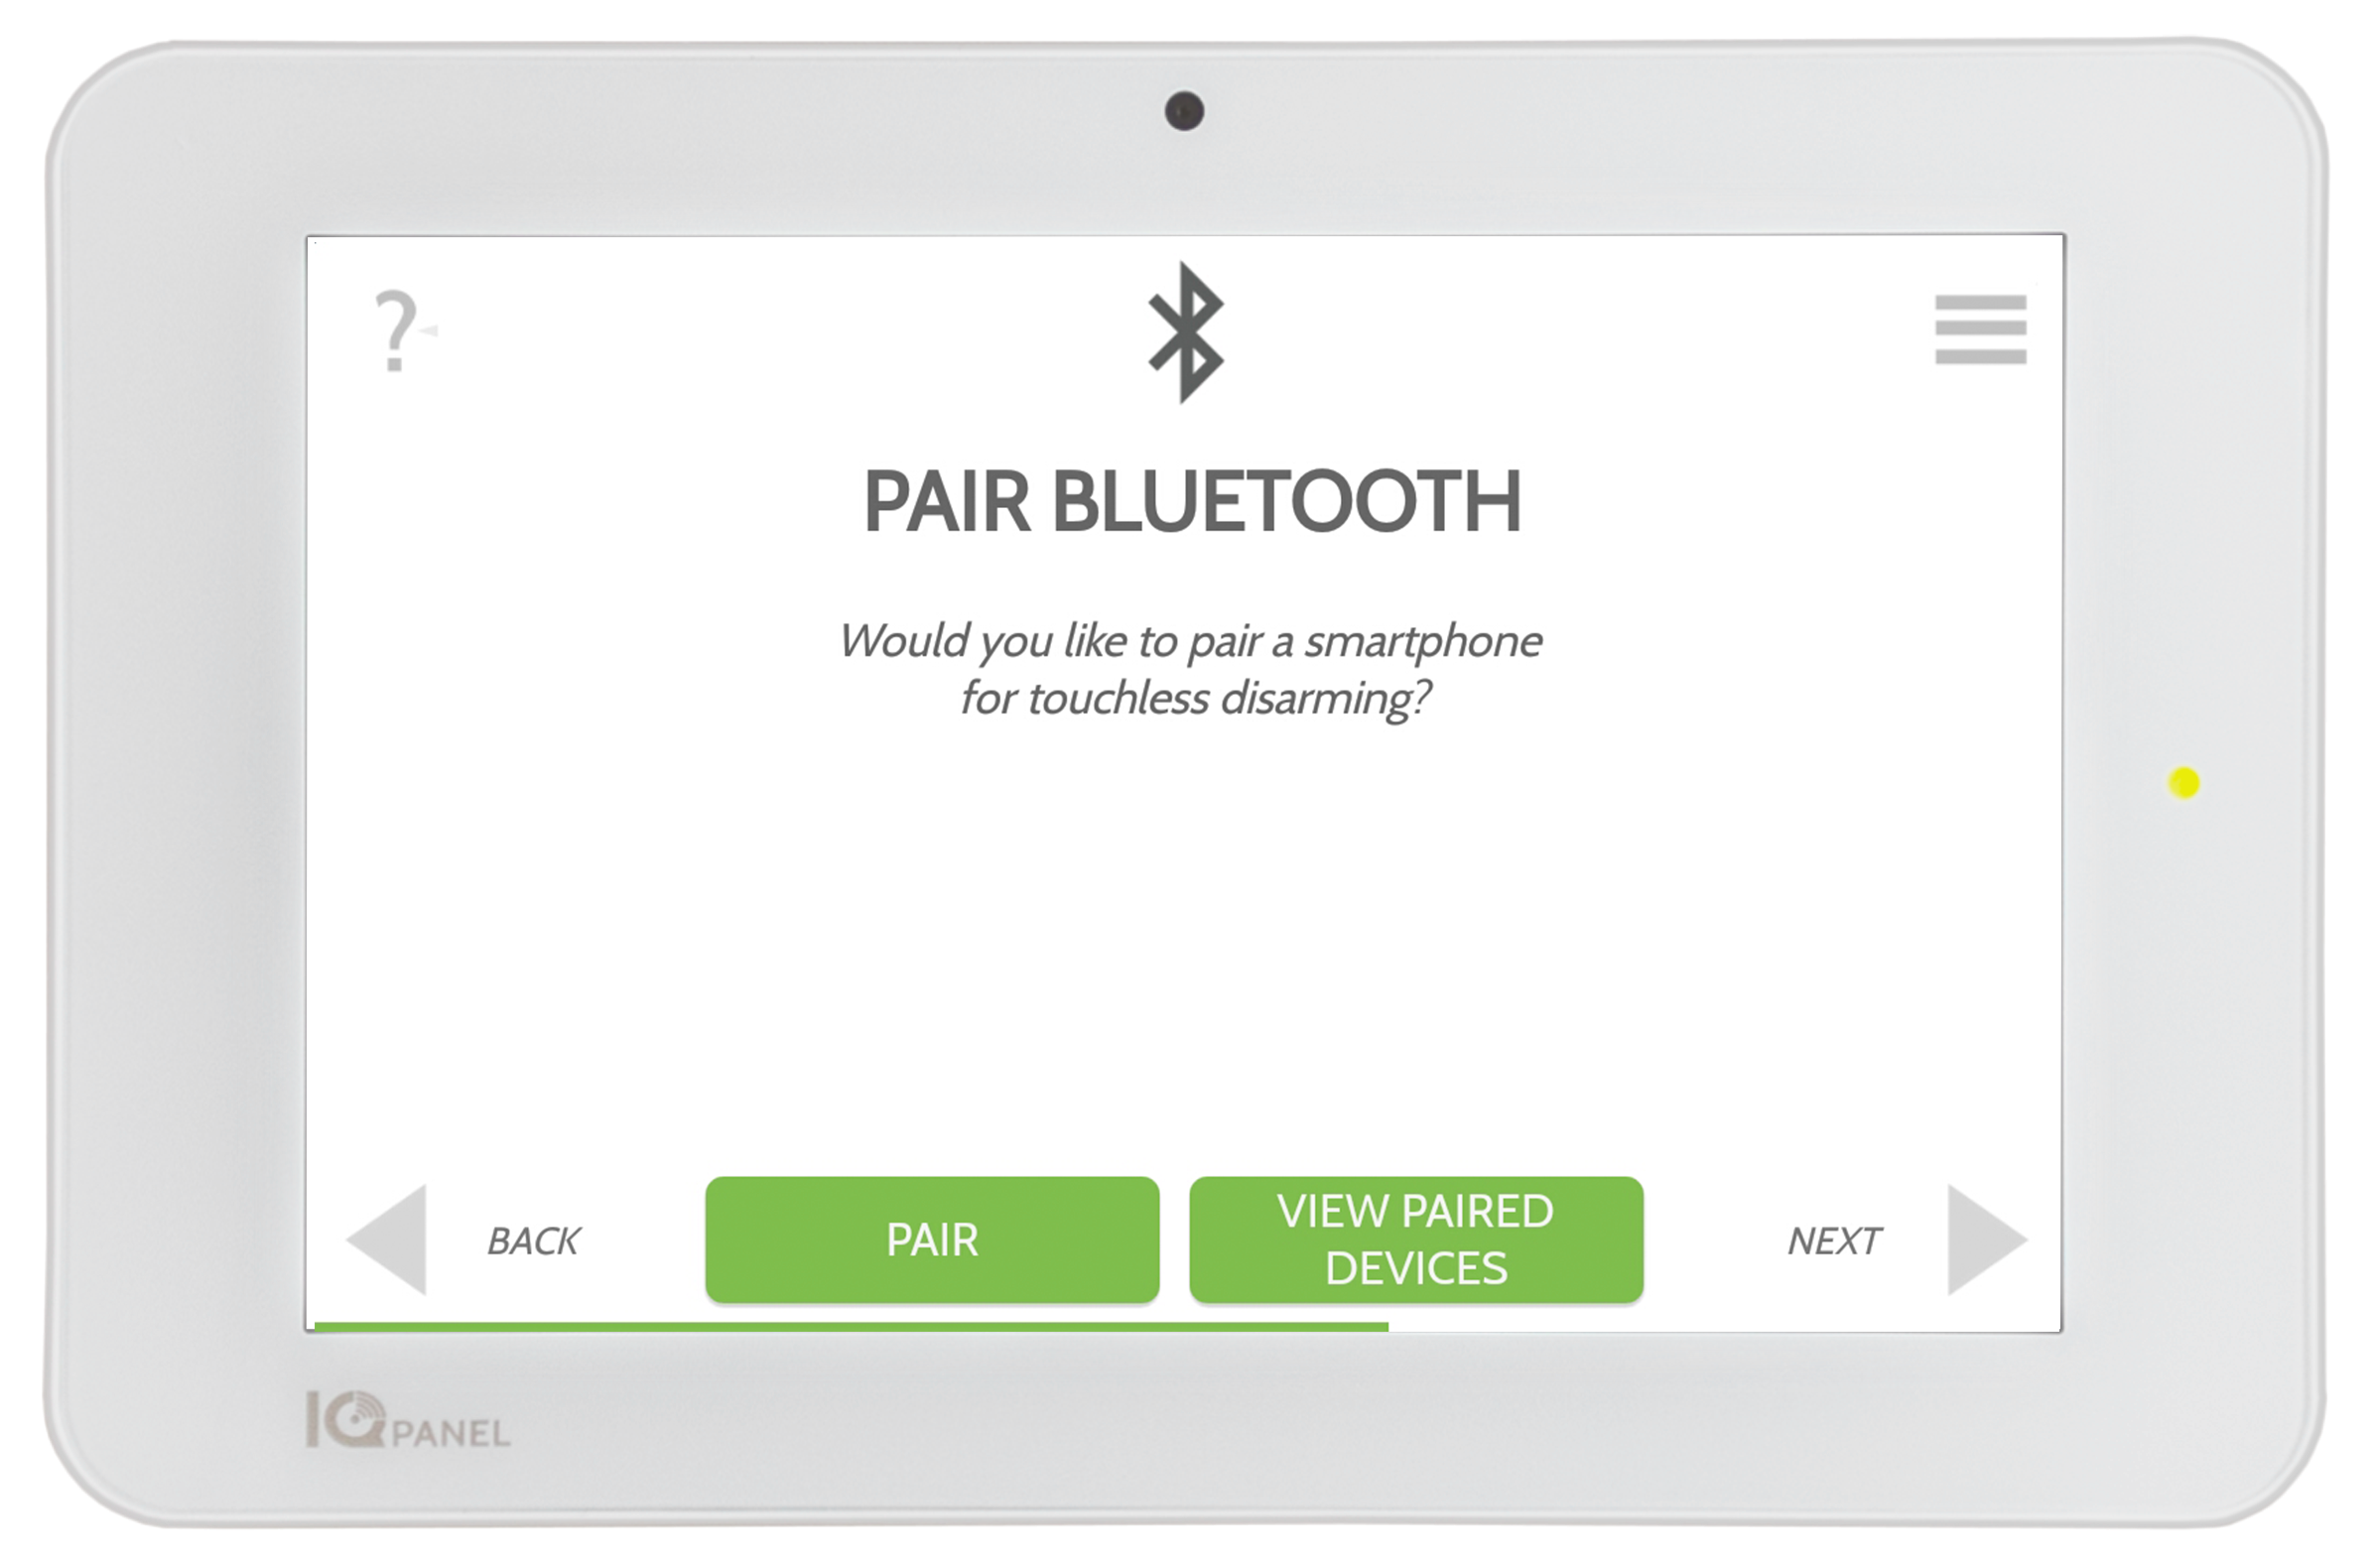
Follow the prompts on the screen to add your phones for Touchless Disarming.
STEP 8: Add Users
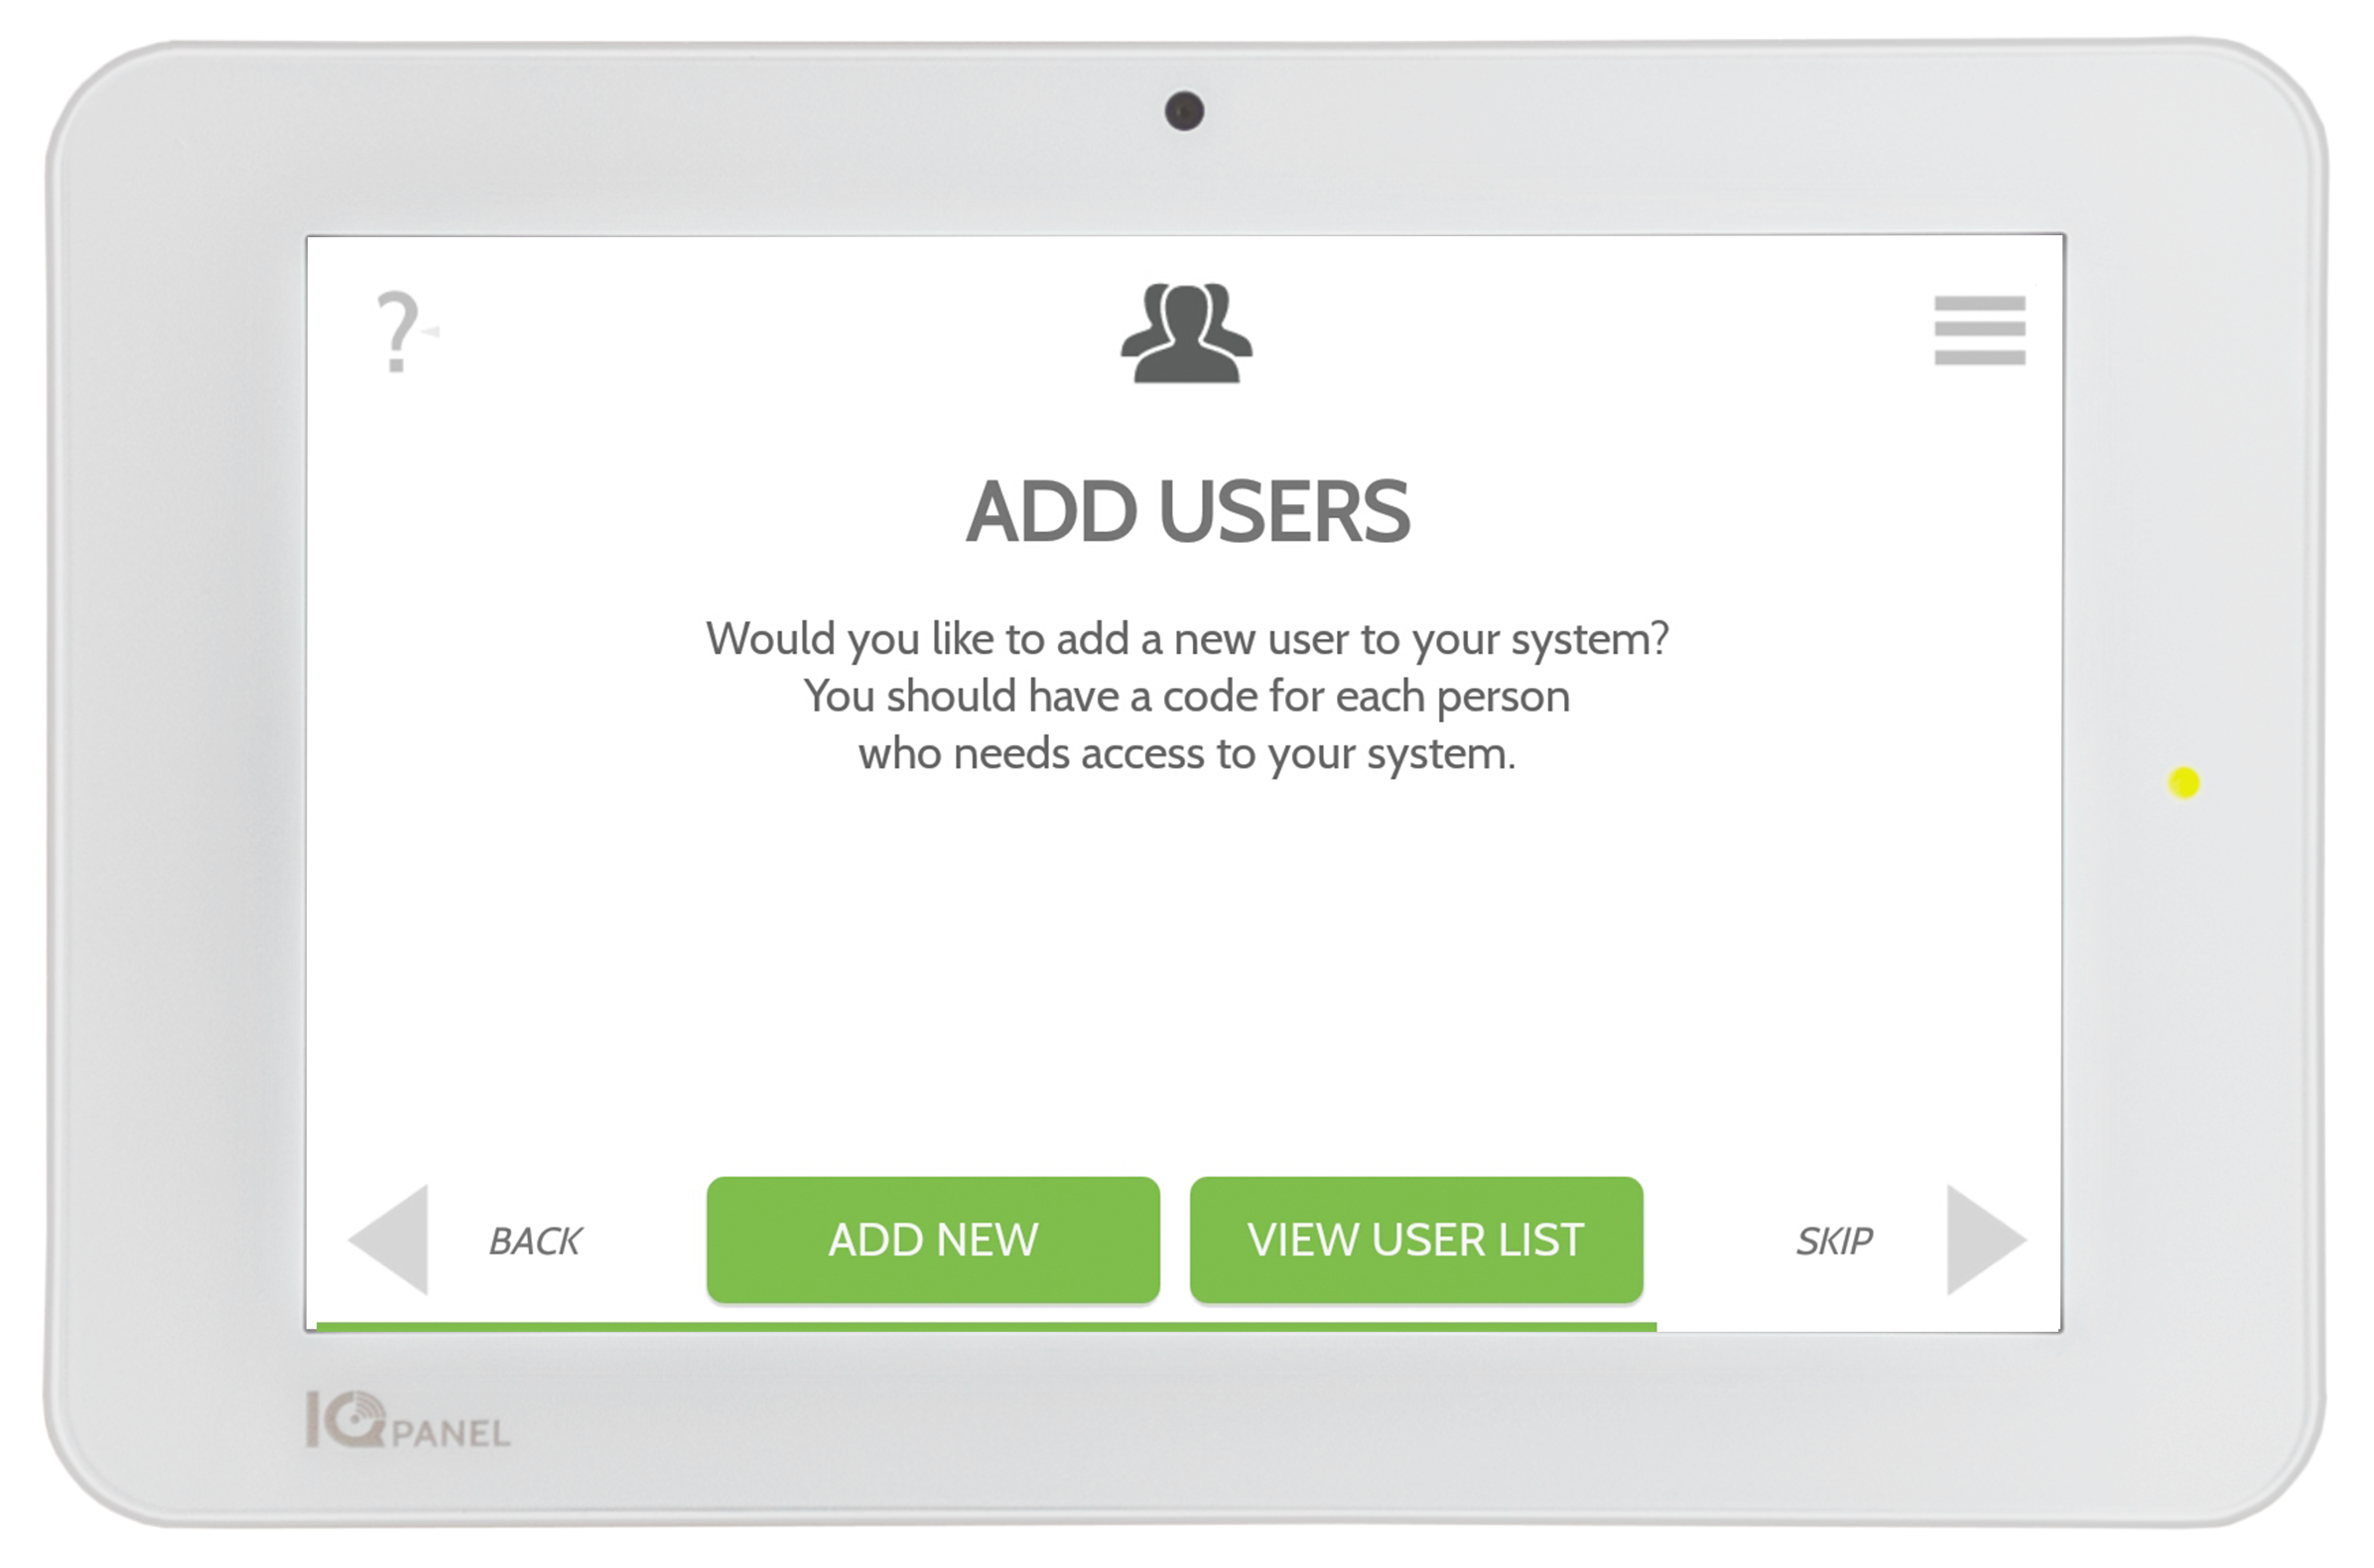
Follow the prompts on the screen to add users. The system supports up to 242 unique users.
Master: Can access settings.
User: Can arm/disarm.
Guest: Access with an expiration date.
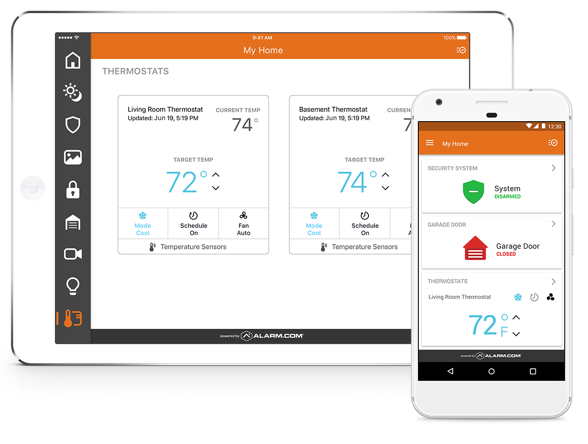
STEP 9: Setup Your Alarm.com App
![]()
![]()